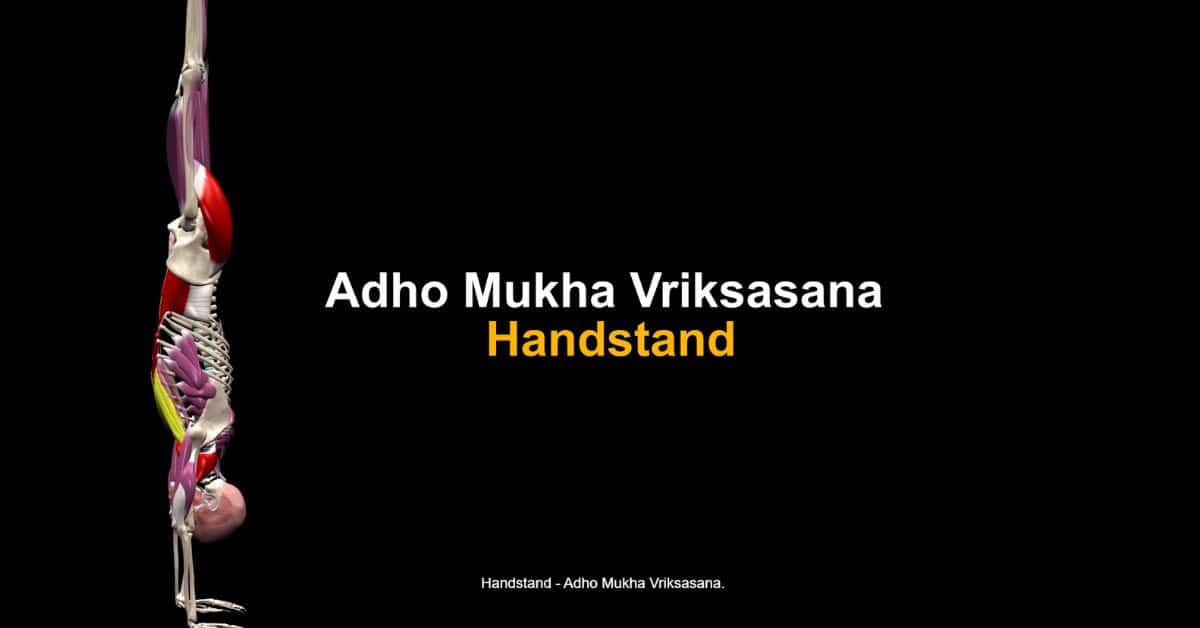
Mastering the Handstand Pose: A Step-by-Step Guide by Muscle and Motion.
Discover the amazing benefits of practicing the Handstand! This advanced yoga pose will help you improve your strength, balance, and focus.
Mastering handstands requires proper form and technique; we at Muscle and Motion provide an easy-to-follow step-by-step guide. With dedication and practice, you’ll soon be able to build your strength and balance with this challenging pose!
Handstand benefits:
The Handstand pose, or in Sanskrit Adho Mukha Vrksasana, is an advanced yoga pose that provides a wide range of physical and mental benefits.
- Physically, handstands help to strengthen the arms, shoulders, and core while improving balance and coordination. They also help foster better body and mind awareness as practitioners need to become more aware of the position of their body and the alignment of their joints.
- Mentally, since one of the most challenging parts of this advanced pose is the fear of falling, facing and overcoming this can promote a sense of empowerment, inner peace, and calm, allowing the practitioner to approach life with a renewed sense of confidence and positivity.
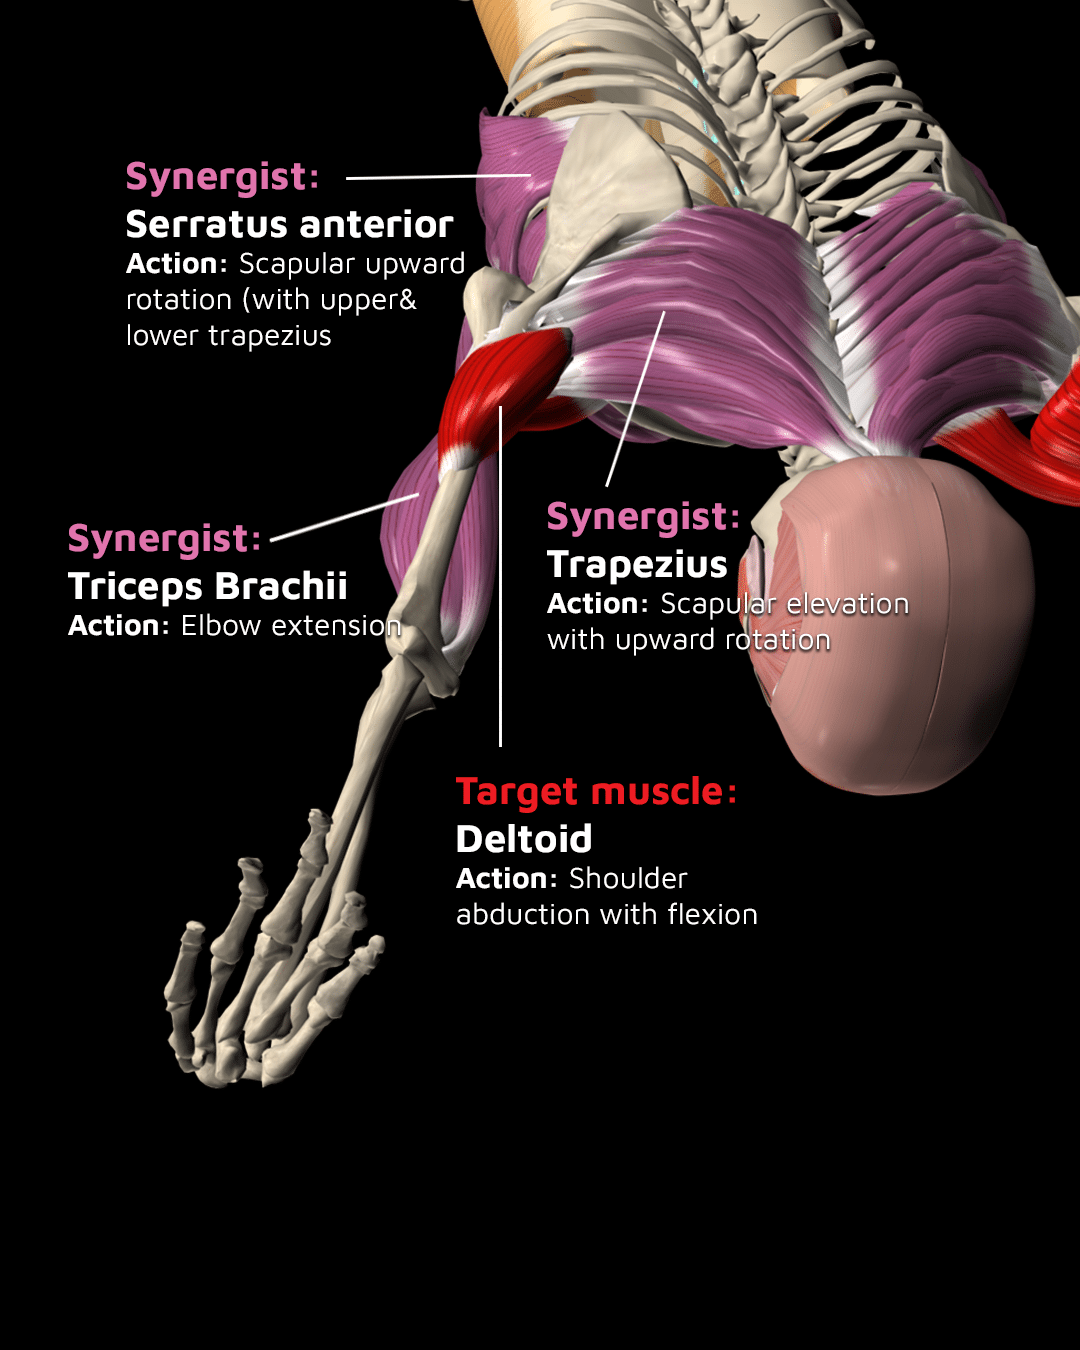
Which muscles are used during a handstand?
Handstands require multiple muscles to statically contract in order to maintain proper alignment.
These include the following:
- Deltoids – flex and abducted shoulder.
- Serratus anterior – rotates the scapula upward.
- Trapezius – elevates and upward the scapula.
- Triceps brachii – extends the elbow.
- Gluteus maximus – Stabilize the hip joint and prevent it from flexing.
- Abdominal muscles – Stabilize the trunk and prevent it from arching.
Exercise stages leading to the handstand
- Standing with your back to the wall
Stand with your back about 10cm from the wall. Contract your abdominal muscles and rest the lower back against the wall. Raise your arms from the sides, touching the wall, until they are straight up and parallel to each other.
The emphasis is on practicing motor control of the pelvic position and maintaining a posterior pelvic tilt to reduce lumbar lordosis.
- Lying on your back
Lie supine on the ground, dorsiflex your feet, and raise your arms until they reach your ears. Keep your neck elongated against the floor, and press your lower back flat against the floor. Make sure you have complete control of your pelvic position throughout the exercise. - Lying face down
Lie prone on the ground, contract your buttocks and abdominal muscles, and tilt your pelvis backward. Tighten your abdominals and stretch your arms forward and your legs backward, flattening any lumbar lordosis. - Walking the wall
Lie prone with your feet towards the wall, contract your abdomen, and keep your back straight. Leading with your buttocks, slowly and with control, use the wall to bring your hands and torso closer to it. Focus on engaging your abdominal muscles to support your lower back. - Static hold against the wall
Bring your hands to within half a meter of the wall and hold the position, engaging your abdominal muscles. - Handstand using the wall with 90° hip flexion
Climb the wall with your legs and place your hands down. Keep your shoulders straight above your hands to strengthen and stabilize your scapulae. Slowly lower your legs until your feet are at waist level, forming a 90-degree angle with your trunk and arms. If you have tight hamstrings, slightly bend your knees. - Transitioning to a full handstand
Transition to a handstand against the wall from a Downward Dog position. Begin in a Downward Dog position, with your hands 5cm away from the wall. Rotate your arms inward, and press your fingertips against the floor. With one bent leg, jump into the handstand position while placing your legs against the wall for support. Perform several repetitions, alternating legs each time. - Improving your balance on handstands
Begin in a full handstand position against the wall with your feet in plantar flexion (point). Gradually move your feet away from the wall and use the forward pressure of your fingers against the floor to balance yourself.
- Handstand without support
Once you have perfected the preceding stages, you should be able to practice a handstand unassisted, without needing to rely on a wall or another person to help you stay upright.
Common issues and mistakes to avoid in handstands:
Learning to perform handstands can be challenging due to its complexity. It requires a high level of control and coordination of multiple muscles. Common mistakes that may arise when attempting the Handstand can be overcome with practice and dedication.
Let’s review the most common mistakes that you may encounter.
Wrist sensitivity during handstands
Handstands can cause pain and sensitivity in the wrist joint due to the increased load placed on the joint at the end of the dorsiflexion range of motion. More so, if the trainees have limitations in wrist dorsiflexion, a higher load placed on the joint and may cause pain.
Solution: Use weight-bearing preparatory exercises before attempting the handstand to improve the dorsiflexion range of motion.
Limitation in shoulders flexion range of motion
Limited shoulder flexion range of motion can lead to a cascade of compensation, such as excessive arching of the lower back and cervical spine, and increased load on the wrist bones.
Solution: use preparatory exercises that focus on improving shoulder flexion range of motion and gradually progress through the exercise with correct form.
Difficulty in maintaining full elbow extension
Difficulty obtaining full elbow extension may be due to weak triceps or inadequate dorsiflexion, or an inability to properly sense one’s body position. To help address these issues, try placing your hand on a cushioned surface to reduce muscle strain, adjusting the height of your head support to ensure optimal comfort, and/or using a mirror to improve body awareness. Additionally, strengthening your triceps and working on end-range of motion exercises will improve your ability to maintain elbow extension.
Take your YOGA to the next level with Dr. Gill Solberg & Muscle and Motion‘s YOGA APP.
An invaluable resource for yoga teachers and yogis seeking to develop a comprehensive understanding of the muscles and joints used in each asana
Sign up for free!
![]()
![]()